
I’ve been loosely paying attention to SageMaker since it was first released in 2017. I’ve played around with a few of the features like training, hyperparameter optimization, web endpoints and ground truth. But in the past, I hadn’t seen enough to justify moving my machine learning development workflows to the service. I think that might have changed!
SageMaker advertises supporting a huge range of workflows in the ML development lifecycle. And the idea of an IDE for machine learning caught my attention. Recently, I finally had a chance to play with it.
This post will walk you through the basics of running inference in a notebook in SageMaker studio.
Starting a SageMaker Studio session
In the AWS console, navigate to SageMaker, select SageMaker Studio and follow the instructions. I’m going to assume that you can setup a profile for SageMaker Studio – this will look a little different for everyone depending on what permissions you need. It looks like you can also configure this with awscli or Terraform if that’s your jam.
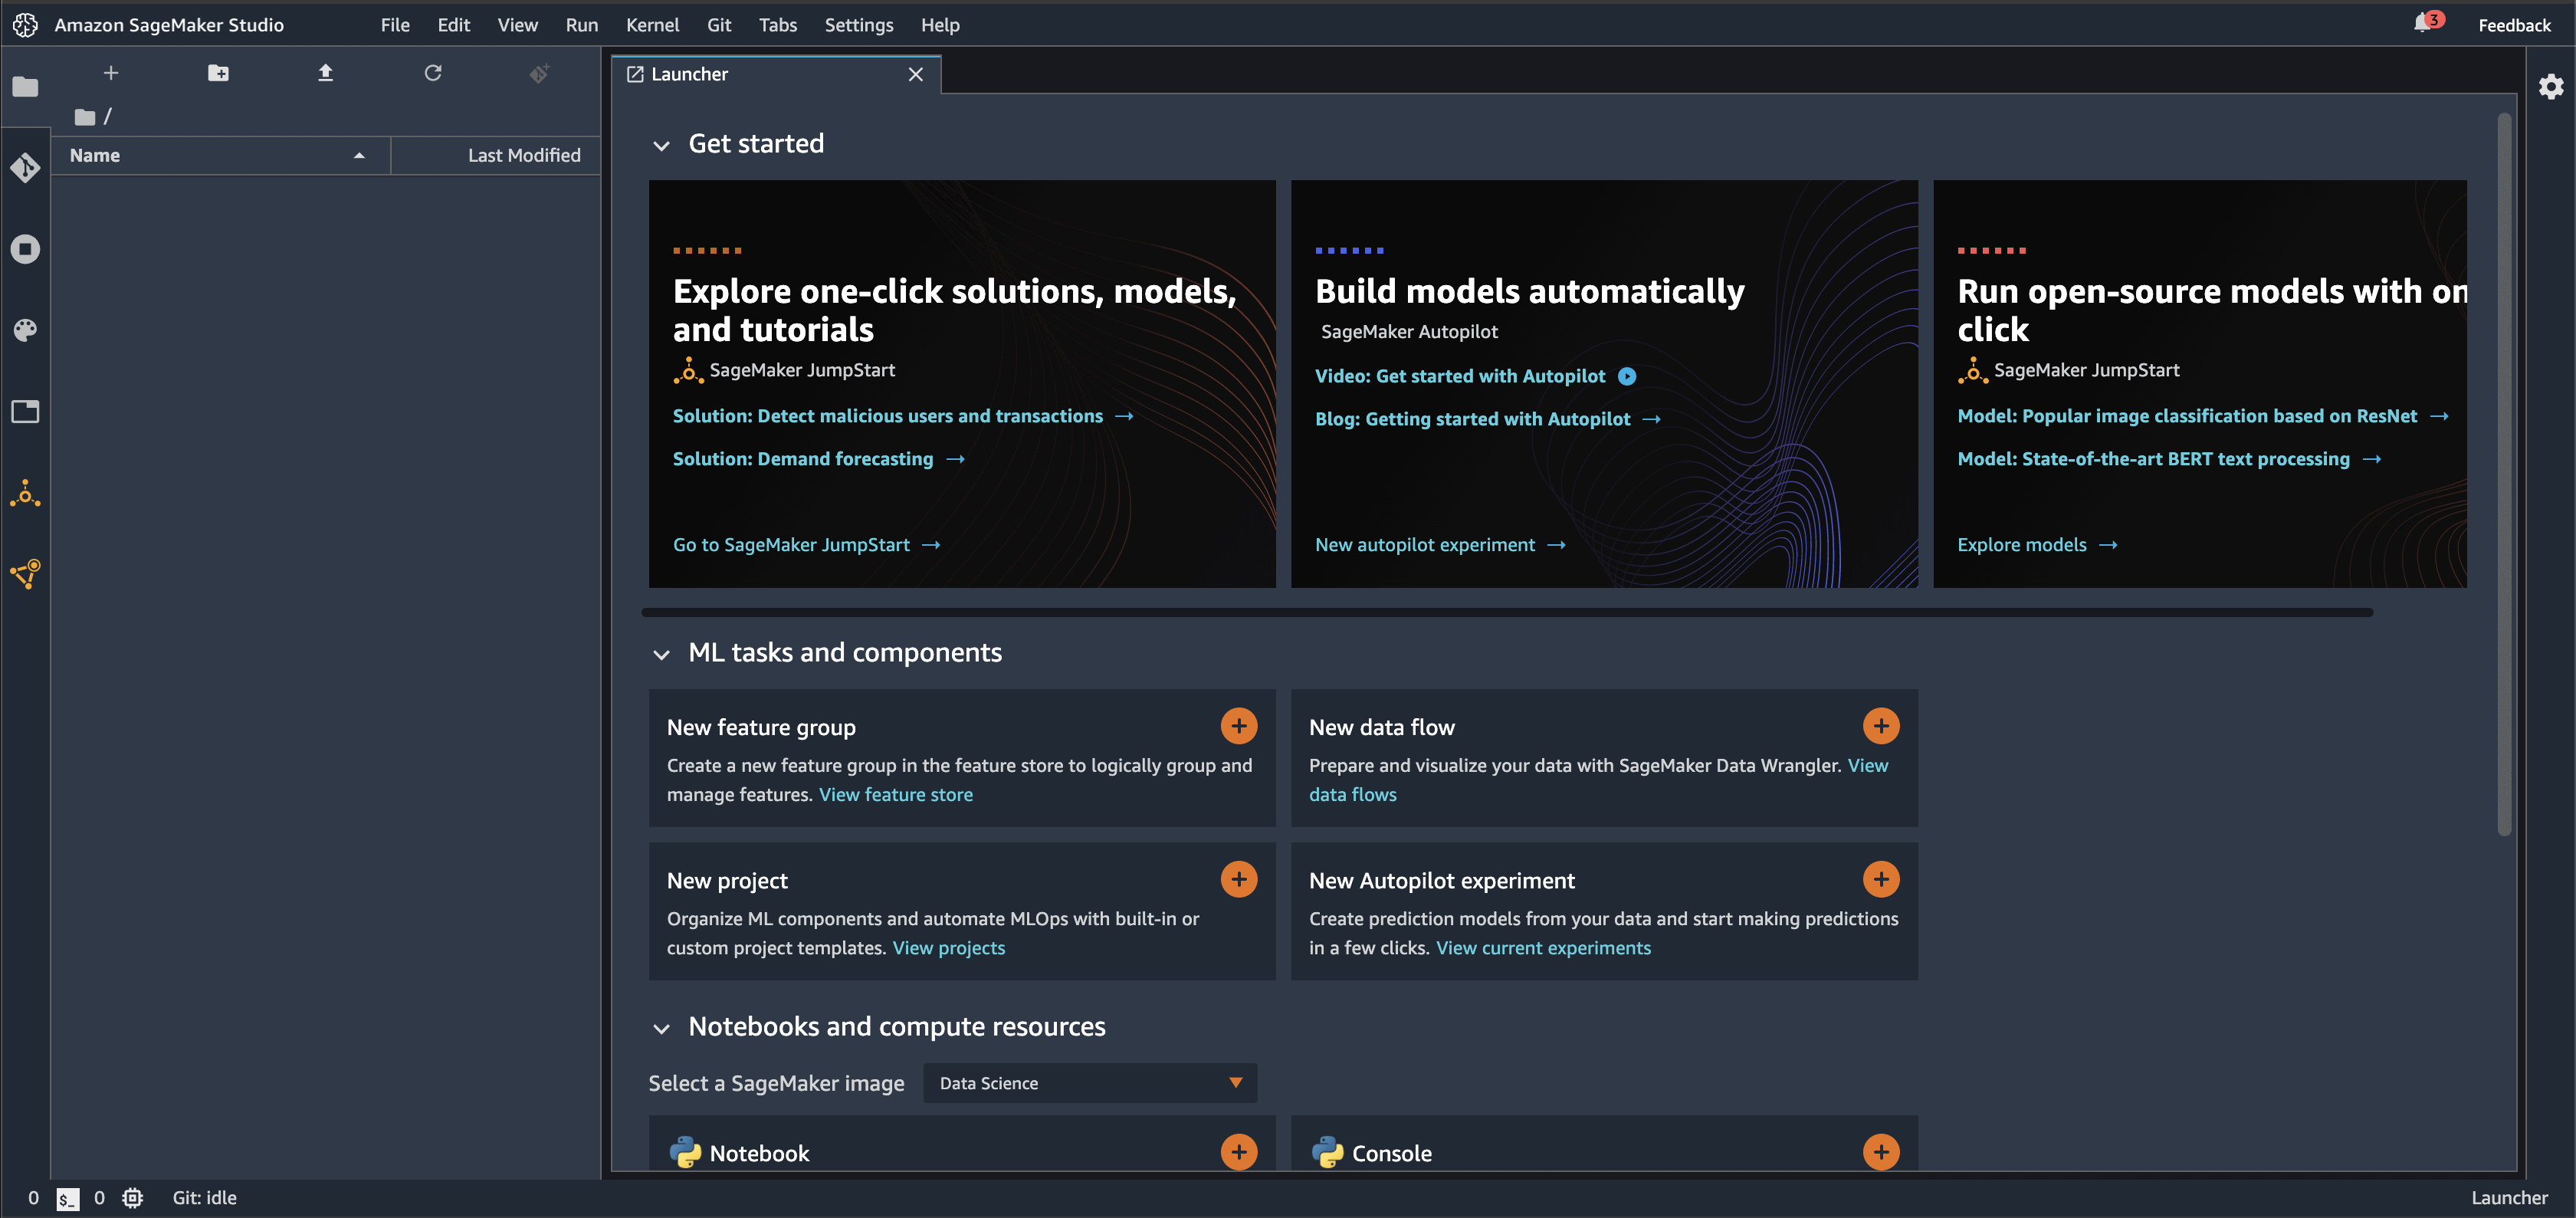
Once you have a user profile ready, launch Studio by clicking Open Studio. When it finishes launching, you should see something like the following:
Launching a notebook on a GPU instance
In the launcher, scroll down to the Notebooks and compute resources section. Select the PyTorch 1.6 Python 3.6 (optimized for GPU) kernel. Then click the orange + icon to start a notebook. At this point, Studio recognizes that it needs a GPU instances and launches one automatically for you. This is convenient! Just don’t forget to spin it down when you’re done. You’ll see a Kernel starting... message at the bottom of the notebook window until the instance is ready. This took roughly 15 minutes for me.
When that finishes, prove that you have access to the GPU:
import torch

torch.cuda.is_available()

# Expected result
# True
Installing detectron2 in the kernel
Next, clone the detectron2 repo by clicking the Git icon on the left side.
Then, select Clone a Repository and enter the detectron2 repo URL: https://github.com/facebookresearch/detectron2.git
Now, install detectron2 and imageio in the current notebook environment, by executing the following in a cell:
import sys

!$sys.executable -m pip install ./detectron2 imageio
When that finishes, restart the notebook.
Do a little inference
I’m not going to explain the following code much. This post is about SageMaker! But you can use these code snippets to run inference on a nice cat image I got from Unsplash. If you want to know more, check out the Colab starter notebook in the detectron2 README.
1) Imports:
%matplotlib inline

import imageio
import matplotlib.pyplot as plt
import numpy as np

from detectron2 import model_zoo
from detectron2.config import get_cfg
from detectron2.engine import DefaultPredictor
from detectron2.utils.visualizer import Visualizer
from detectron2.data import MetadataCatalog, DatasetCatalog
2) Read the image:
img = imageio.imread("https://sparrow.dev/data/cyrus-chew.jpg")3) Configure the model and compute predictions:
cfg = get_cfg()

cfg.merge_from_file(model_zoo.get_config_file("COCO-Detection/retinanet_R_50_FPN_1x.yaml"))

# Overrides
cfg.MODEL.RETINANET.SCORE_THRESH_TEST = 0.75
cfg.MODEL.WEIGHTS = model_zoo.get_checkpoint_url("COCO-Detection/retinanet_R_50_FPN_1x.yaml")
predictor = DefaultPredictor(cfg)
outputs = predictor(img)
4) Visualize the output:
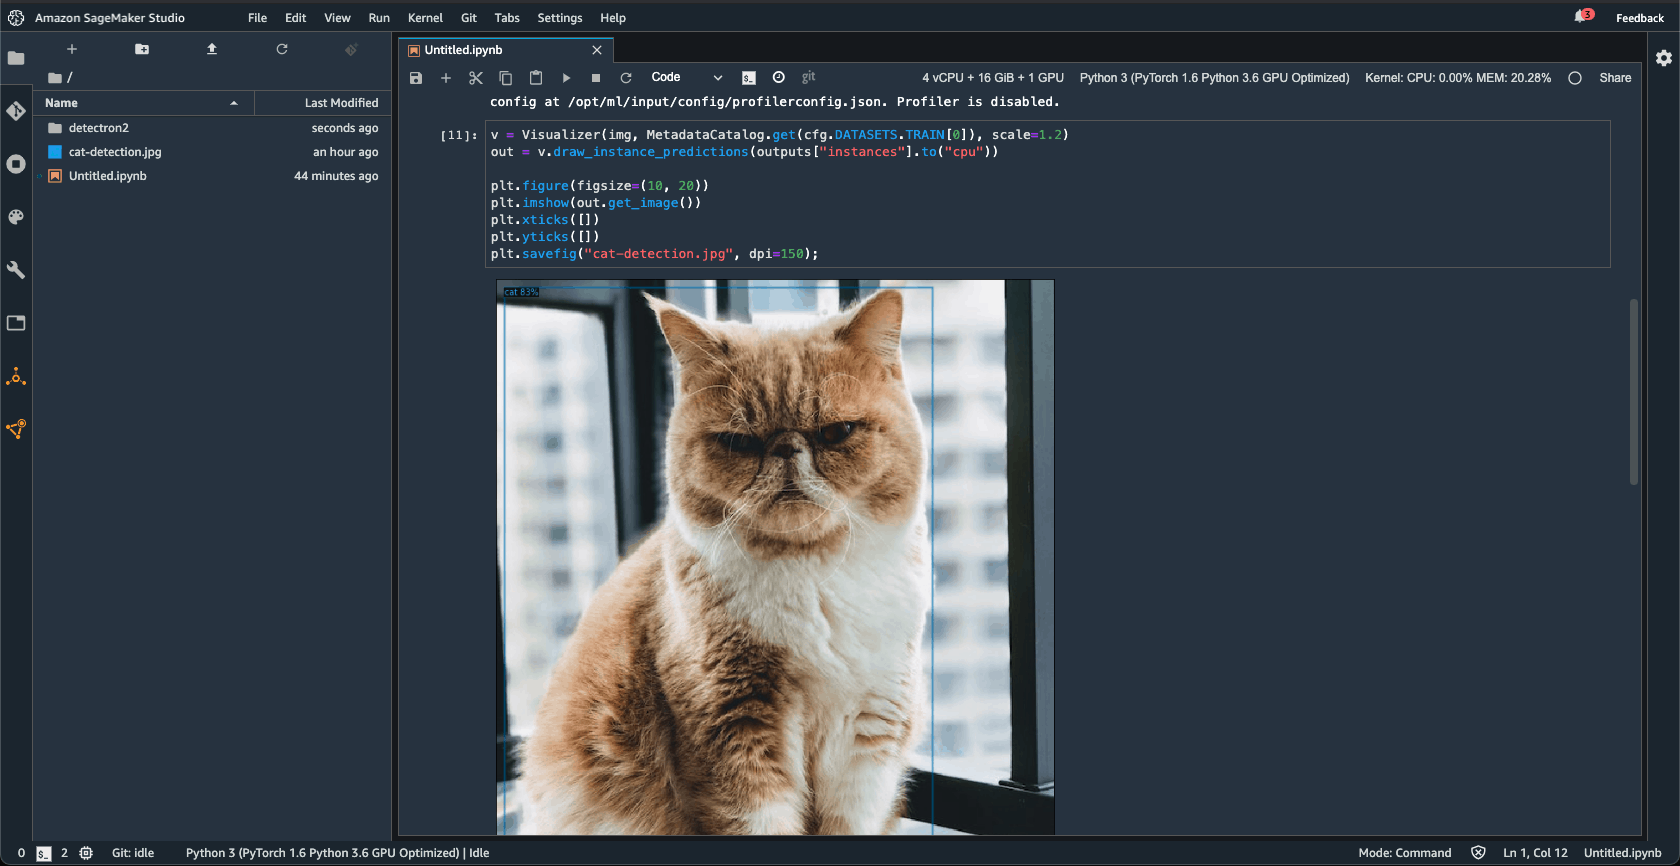
v = Visualizer(img, MetadataCatalog.get(cfg.DATASETS.TRAIN[0]), scale=1.2)
out = v.draw_instance_predictions(outputs["instances"].to("cpu"))

plt.figure(figsize=(10, 20))
plt.imshow(out.get_image())
plt.xticks([])
plt.yticks([]);
You should now see something like this:
Make sure to spin your instance down!
When you’re done, you have to spin the instance down. Forgetting to do this will be the source of large unexpected costs!
Select the Running Terminals and Kernels icon on the left. Click the power button for the instance and confirm with Shut Down All.
Pricing
I had a ml.g4dn.xlarge instance running all afternoon while I played with a few different computer vision models. Except for accidentally spinning up a medium CPU instance, there were no major surprises. The total cost was $2.90.
You also pay for storage in EFS. My notebooks, code and data were all persisted. This costs $0.30 per GB per month in Virginia. Not bad.
My thoughts
This quick start example is trivial, but it does show you a few interesting things about SageMaker Studio. It’s modified Jupyter Lab, but the modifications are powerful. You get access to arbitrary compute resources from within your notebooks. You also get a nice interface for cloning repositories (this is more of a hassle in the old SageMaker notebook instance feature). You also get powerful authentication for an entire team and shared storage on EFS.
Overall, I’m intrigued by SageMaker Studio. I really like the idea of managing the entire ML development cycle in a single location: data collection, training, deployment, monitoring. Machine learning is legitimately different than other kinds of software development so I do think there’s room for a new IDE.
On the other hand, an IDE based on Jupyter notebooks is not unambiguously good. Notebooks are definitely the right place to write scratch code, but they also encourage some bad programming habits. There are some potential dangers to embracing Jupyter as the center of your ML workflow.
I’m planning to experiment with the rest of the ML lifecycle in Studio. I’ll be sure to report back on what I find!